
If you’ve spent any time scrolling through YouTube Shorts, TikTok, or Instagram Reels, you’ve probably noticed a pattern: the videos that pull you in, keep you watching, and rack up millions of views almost always have one thing in common. They’re cut tight. No dead air, no long pauses, no rambling. Just a rapid sequence of jump cuts that make the creator feel like they’re moving at the exact speed your brain wants.
So why is that? And more importantly, how can you do it for your own content without spending hours on complicated editing?
The answer is simpler than you think. It comes down to a very straightforward technique: cutting your clips based on the audio waveform.
Why Jump Cuts Work So Well
Think of jump cuts as editing with the attention span of the internet in mind. People scrolling Shorts or Reels have about half a second before deciding whether to keep watching or swipe away. Every pause, every “um,” every second of silence is an opportunity to lose them.
Jump cuts keep the pacing snappy. They mimic the rhythm of how our brains process short-form content. Fast, energetic, and to the point. That doesn’t mean you need to speak like an auctioneer. It just means you trim away anything that doesn’t serve the main message.
When done right, jump cuts don’t make your video feel choppy. They actually make it feel smoother, because the viewer’s brain fills in the tiny gaps.
Editing Like a Pro in CapCut (Or Any Editor, Really)
CapCut is the go-to editor for a lot of creators right now, especially beginners, because it’s free, mobile-friendly, and powerful enough for professional results. But here’s the cool part: the techniques we’re about to talk through work in pretty much every editor.
Premiere Pro, Final Cut, ShotCut, DaVinci Resolve, you name it. The tools look a little different, but the logic is the same.
The real secret? Stop looking at your video first. Look at your audio waveform.
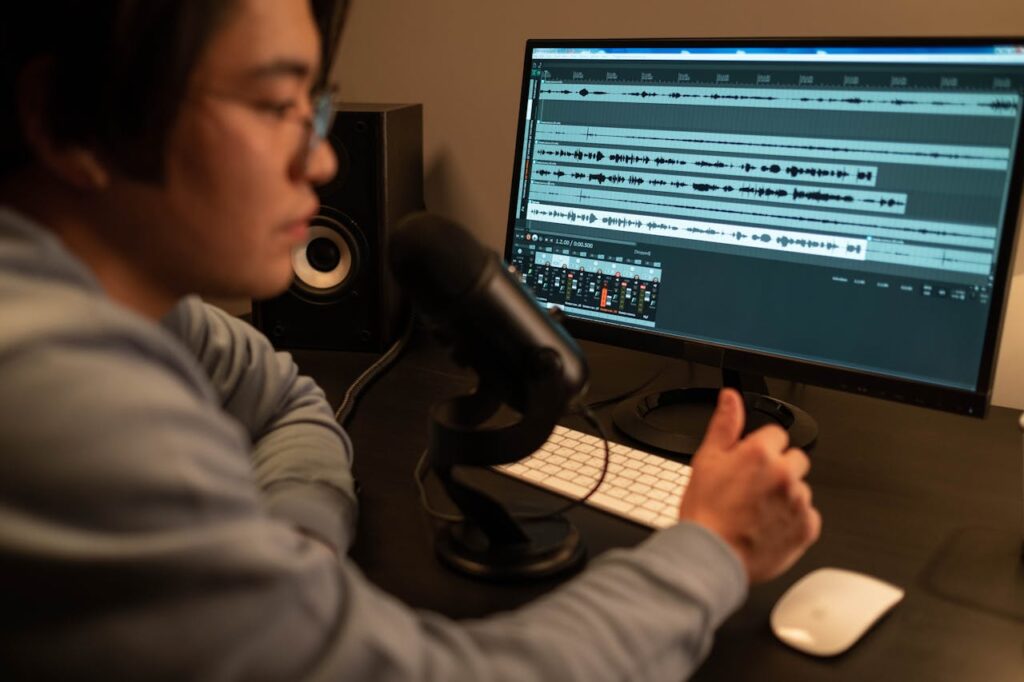
Step 1: Import and Expand Your Waveform
After you record your talking-head clip, drop it into CapCut (or your editor of choice). At the bottom of the screen, you’ll see the audio track with waveforms. Those little spikes and valleys. Expand it so you can see the details clearly.
Spikes = your voice. Flat lines = silence, dead air, or filler noise.
This is where most of the magic happens.
Step 2: Slice Out the Silence
As you scrub through, stop wherever you see a flat line. That’s usually a pause, a breath, or a stutter. Place a cut just before and just after that section, then delete it.
At first, this feels tedious. But once you get in the flow, you’ll be amazed how quickly it goes. In a one-minute clip, you might make 10–15 cuts. Each cut is like shaving seconds of fluff that nobody would miss.
And trust me, the difference is night and day. Suddenly, your video sounds confident, fast-moving, and way more engaging.
Step 3: Don’t Worry About “Perfect”
Here’s the best part: you don’t need to stress about making every cut invisible. On platforms like Shorts or Reels, jump cuts are expected. Viewers won’t think, “Wow, that was a rough cut.” They’ll think, “This is clear and easy to watch.”
If anything, a little bit of rawness makes you feel authentic. Some creators even exaggerate their jump cuts on purpose, leaning into the style.
Step 4: Layer in Captions or Text
Since you’re already trimming based on the waveform, adding captions becomes much easier. CapCut has auto-caption features that sync to your speech. Once you’ve cut out silences, the captions align much better and don’t feel like they’re dragging between words.
Captions are non-negotiable at this point. More than 70% of viewers watch without sound, so your jump cuts paired with captions mean your video is strong whether they’re listening or not.
Step 5: Add Quick Visual Breaks
To take it up another level, drop in b-roll, memes, or text pop-ups right over those jump cuts. CapCut makes this as simple as dragging and dropping. This isn’t mandatory, but it keeps things visually fresh and adds a layer of polish that makes your video feel more intentional.
Think of it like seasoning a dish… it’s not required, but it makes everything taste better.
The Payoff of Editing to the Waveform
Here’s the thing: most beginners edit based on what they see. They’re watching the video window, waiting for the awkward pauses to “look” obvious. But pros? They edit based on what they hear. And the waveform is your shortcut to hearing with your eyes.
When you cut out silence, filler, and hesitation, you’re essentially distilling your message down to its sharpest form. That’s why most viral Shorts use jump cuts. It’s not about fancy effects or expensive cameras. It’s about respecting the viewer’s time.
Final Thoughts
You don’t need to be a master editor to create scroll-stopping videos. If you can open your editor, look at the waveform, and delete the silence, you’re already ahead of 90% of creators. It’s minimalist editing at its finest.
So the next time you sit down to cut a video, zoom in on that audio track, start slicing, and see how much stronger your message feels. It’s a small habit that can turn casual clips into viral-ready content.