Lighting is one of the most important aspects of creating high-quality YouTube videos. Even the most expensive camera can’t save poorly lit footage. Proper lighting can enhance your visuals, set the mood, and ensure your content looks professional and engaging. Thankfully, achieving good lighting doesn’t have to break the bank. In this guide, we’ll walk you through affordable lighting options that work for a variety of setups.
Why Lighting Matters
Before diving into the gear, it’s essential to understand why lighting is so critical. Good lighting:
- Improves Video Quality: Properly lit scenes reduce noise and grain in your footage.
- Sets the Tone: Lighting helps convey emotion, whether it’s warm and inviting or cool and dramatic.
- Enhances Focus: Viewers are drawn to well-lit subjects, ensuring you’re the center of attention.
- Shows Professionalism: A well-lit video instantly elevates the production value, keeping viewers engaged.
Key Lighting Concepts
Before shopping for lights, familiarize yourself with these basics:
- Three-Point Lighting: This classic setup includes a key light, fill light, and backlight to create depth and reduce shadows.
- Color Temperature: Measured in Kelvin (K), this determines whether light appears warm (yellow/orange) or cool (white/blue). Most creators use lights with adjustable color temperatures to match their environment.
- CRI (Color Rendering Index): A high CRI (90+) ensures colors look natural on camera.
Affordable Lighting Options for YouTube Videos
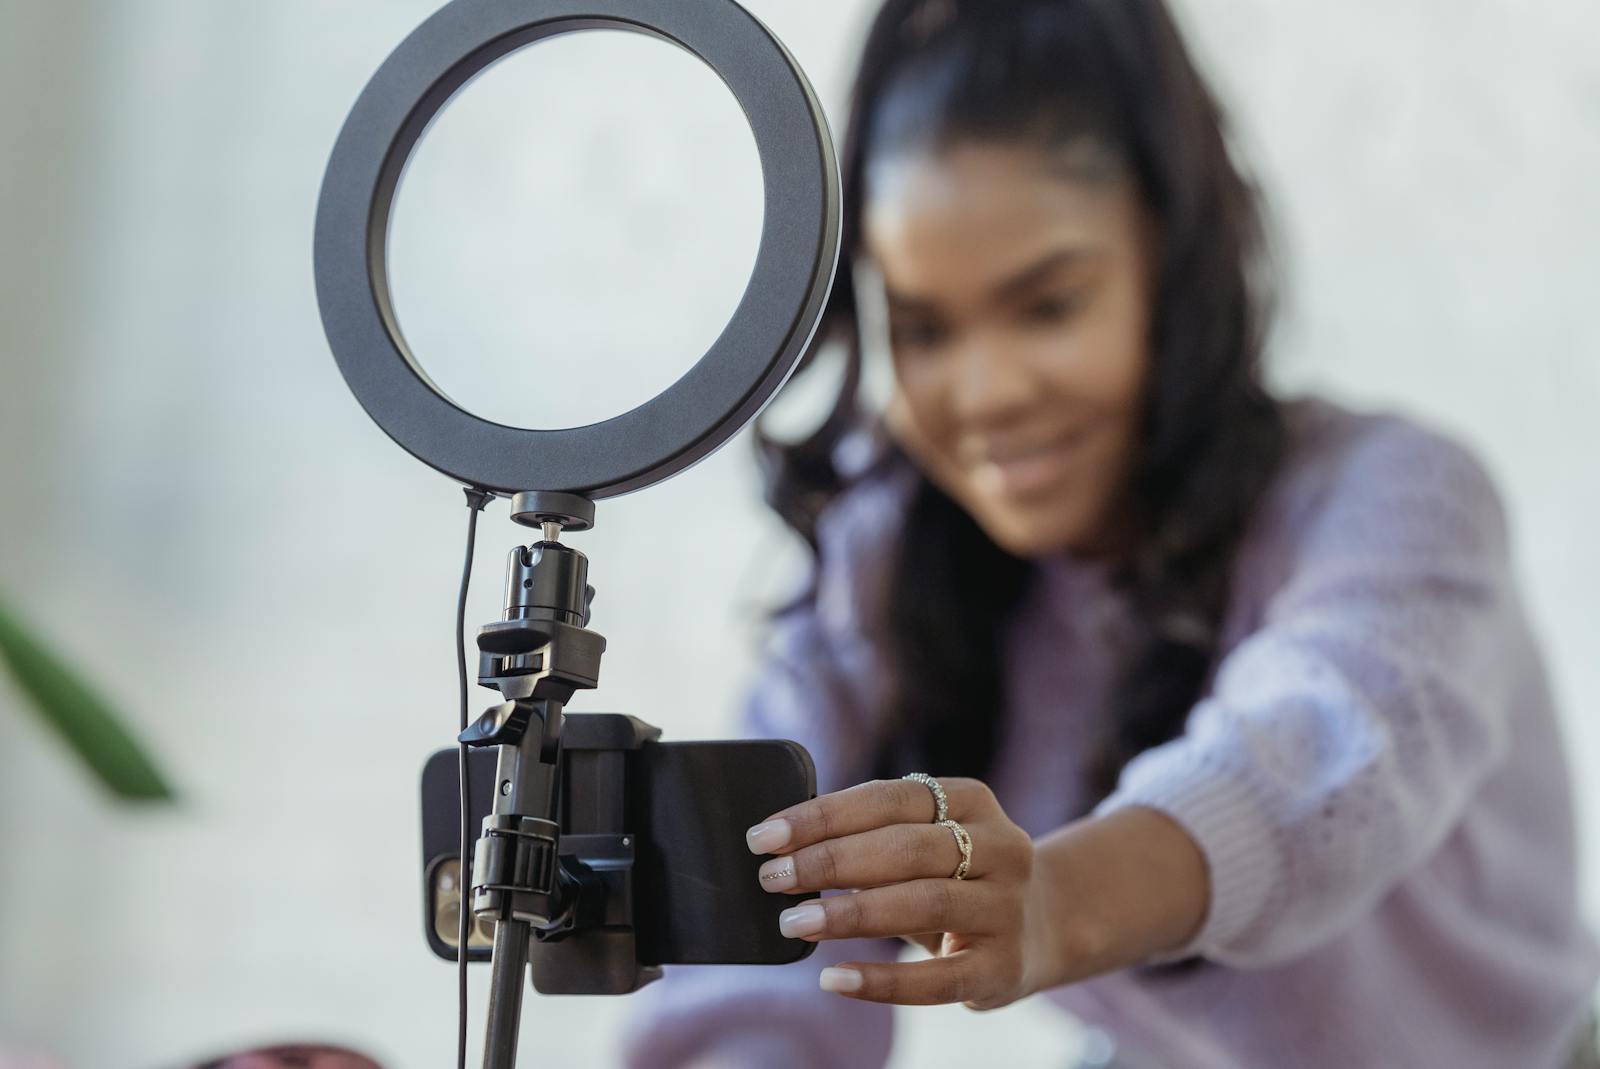
1. Ring Lights
Ring lights are a favorite among YouTubers for their simplicity and flattering effect on subjects. They create a soft, even light that reduces shadows and gives your eyes a subtle catchlight.
- Recommended Options:
- Neewer 18-inch Ring Light: Offers adjustable brightness and color temperature, perfect for beauty, vlogging, or tutorials.
- UBeesize 10-inch Ring Light: A compact and budget-friendly option for beginners.
Ring lights work best when placed directly in front of you, making them ideal for talking head videos.
2. Softbox Lights
Softbox lights diffuse light to create a natural and soft effect, minimizing harsh shadows. They’re versatile and work well for larger setups or when you need more control over light direction.
- Recommended Options:
- Mountdog Softbox Lighting Kit: An affordable kit that includes two adjustable softbox lights.
- Fovitec StudioPRO: Offers higher quality for slightly more investment, great for creators needing consistent lighting.
Position one softbox as your key light and another as your fill light for a balanced look.
3. LED Panels
LED panels are lightweight, portable, and energy-efficient. Many models offer adjustable brightness and color temperature, making them ideal for creators who need flexibility.
LED panels can be mounted on tripods or placed on desks, providing excellent versatility for different shooting scenarios.
4. Clip-On Lights
If you’re tight on space or need an ultra-affordable solution, clip-on lights are a great choice. They attach directly to your laptop or phone and are perfect for webcam-based YouTube videos.
5. Practical Lights
Don’t overlook the lights you already have at home. Desk lamps, fairy lights, or even natural sunlight can be used creatively to enhance your videos. Pair these with DIY diffusers, like a white bedsheet or parchment paper, to soften the light.
Additional Tips for Great Lighting
- Use Natural Light: If you’re on a tight budget, position yourself near a window for soft, natural light. Avoid direct sunlight, as it can create harsh shadows.
- Invest in a Reflector: A simple reflector can bounce light onto your subject, reducing shadows and adding a professional touch. Affordable options like the Neewer 5-in-1 Reflector are versatile and easy to use.
- Control the Environment: Eliminate competing light sources (e.g., overhead lights) to avoid color imbalance.
- Experiment with Angles: Play around with light placement to find the most flattering setup for your content.
Conclusion
Great lighting doesn’t have to come with a hefty price tag. By investing in affordable options like ring lights, softboxes, or LED panels, you can significantly improve your YouTube video quality. Whether you’re a beginner or a seasoned creator, understanding the basics of lighting and using the right tools can help you produce content that looks polished and professional. So, light it up, and let your creativity shine!