Creating a professional home studio doesn’t have to be a costly endeavor. Whether you’re producing videos, recording podcasts, or taking product photos, the right setup can make all the difference—and you don’t need to break the bank to achieve it. With careful planning, smart shopping, and a bit of creativity, you can build a studio that delivers high-quality results without a high price tag. Here’s how to do it.
Choosing the Right Space
The first step in building your home studio is selecting the right location. Ideally, choose a space that’s quiet, has minimal natural echo, and can be easily customized. Common options include spare bedrooms, basements, or even a section of your living room.
- Sound Considerations: Avoid rooms with hard surfaces like tiles or large windows, as they tend to reflect sound. Carpets, rugs, and soft furnishings can help dampen noise.
- Lighting Potential: If you’re working with video or photography, choose a space with access to natural light or room for additional lighting equipment.
Budget-Friendly Soundproofing
Good audio quality is essential for professional content. While professional soundproofing materials can be expensive, there are plenty of affordable alternatives:
- Foam Panels: Budget foam panels like those from Auralex or generic brands on Amazon can effectively reduce echo and improve sound clarity.
- DIY Solutions: Use thick blankets, rugs, or even egg cartons to absorb sound. Hanging curtains or tapestries on the walls also helps.
- Seal Gaps: Use weatherstripping or door draft stoppers to block external noise from seeping in.
Lighting on a Budget
Lighting is crucial for video and photography. You don’t need expensive professional lights to get started; instead, consider these affordable options:
- Ring Lights: Compact and versatile, ring lights are perfect for evenly lighting your face in video content. Look for budget models like the UBeesize 10-inch Ring Light.
- Softbox Kits: Affordable softbox lighting kits, such as those from Mountdog, provide excellent results for studio photography or video shoots.
- Natural Light: If your space has windows, utilize natural sunlight. Position your setup to face the window for soft, flattering light.
Affordable Backdrops
A clean and professional backdrop enhances the overall quality of your content. Here are some budget-friendly ideas:
- DIY Backdrops: Use plain bedsheets or curtains as a backdrop. Neutral colors like white, gray, or black work well for most projects.
- Paper Rolls: Seamless paper rolls, such as those from Savage Universal, are affordable and available in a variety of colors.
- Reclaimed Materials: Get creative with wood pallets, wallpaper, or painted foam boards to create unique textured backgrounds.
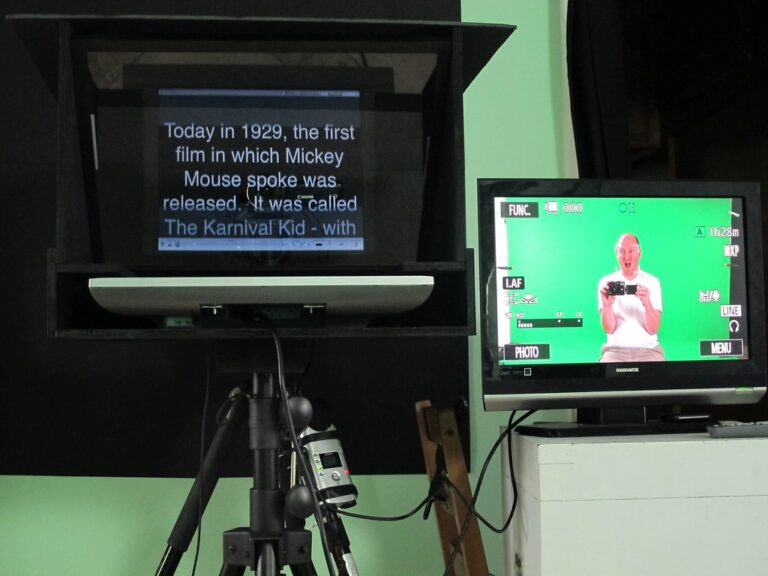
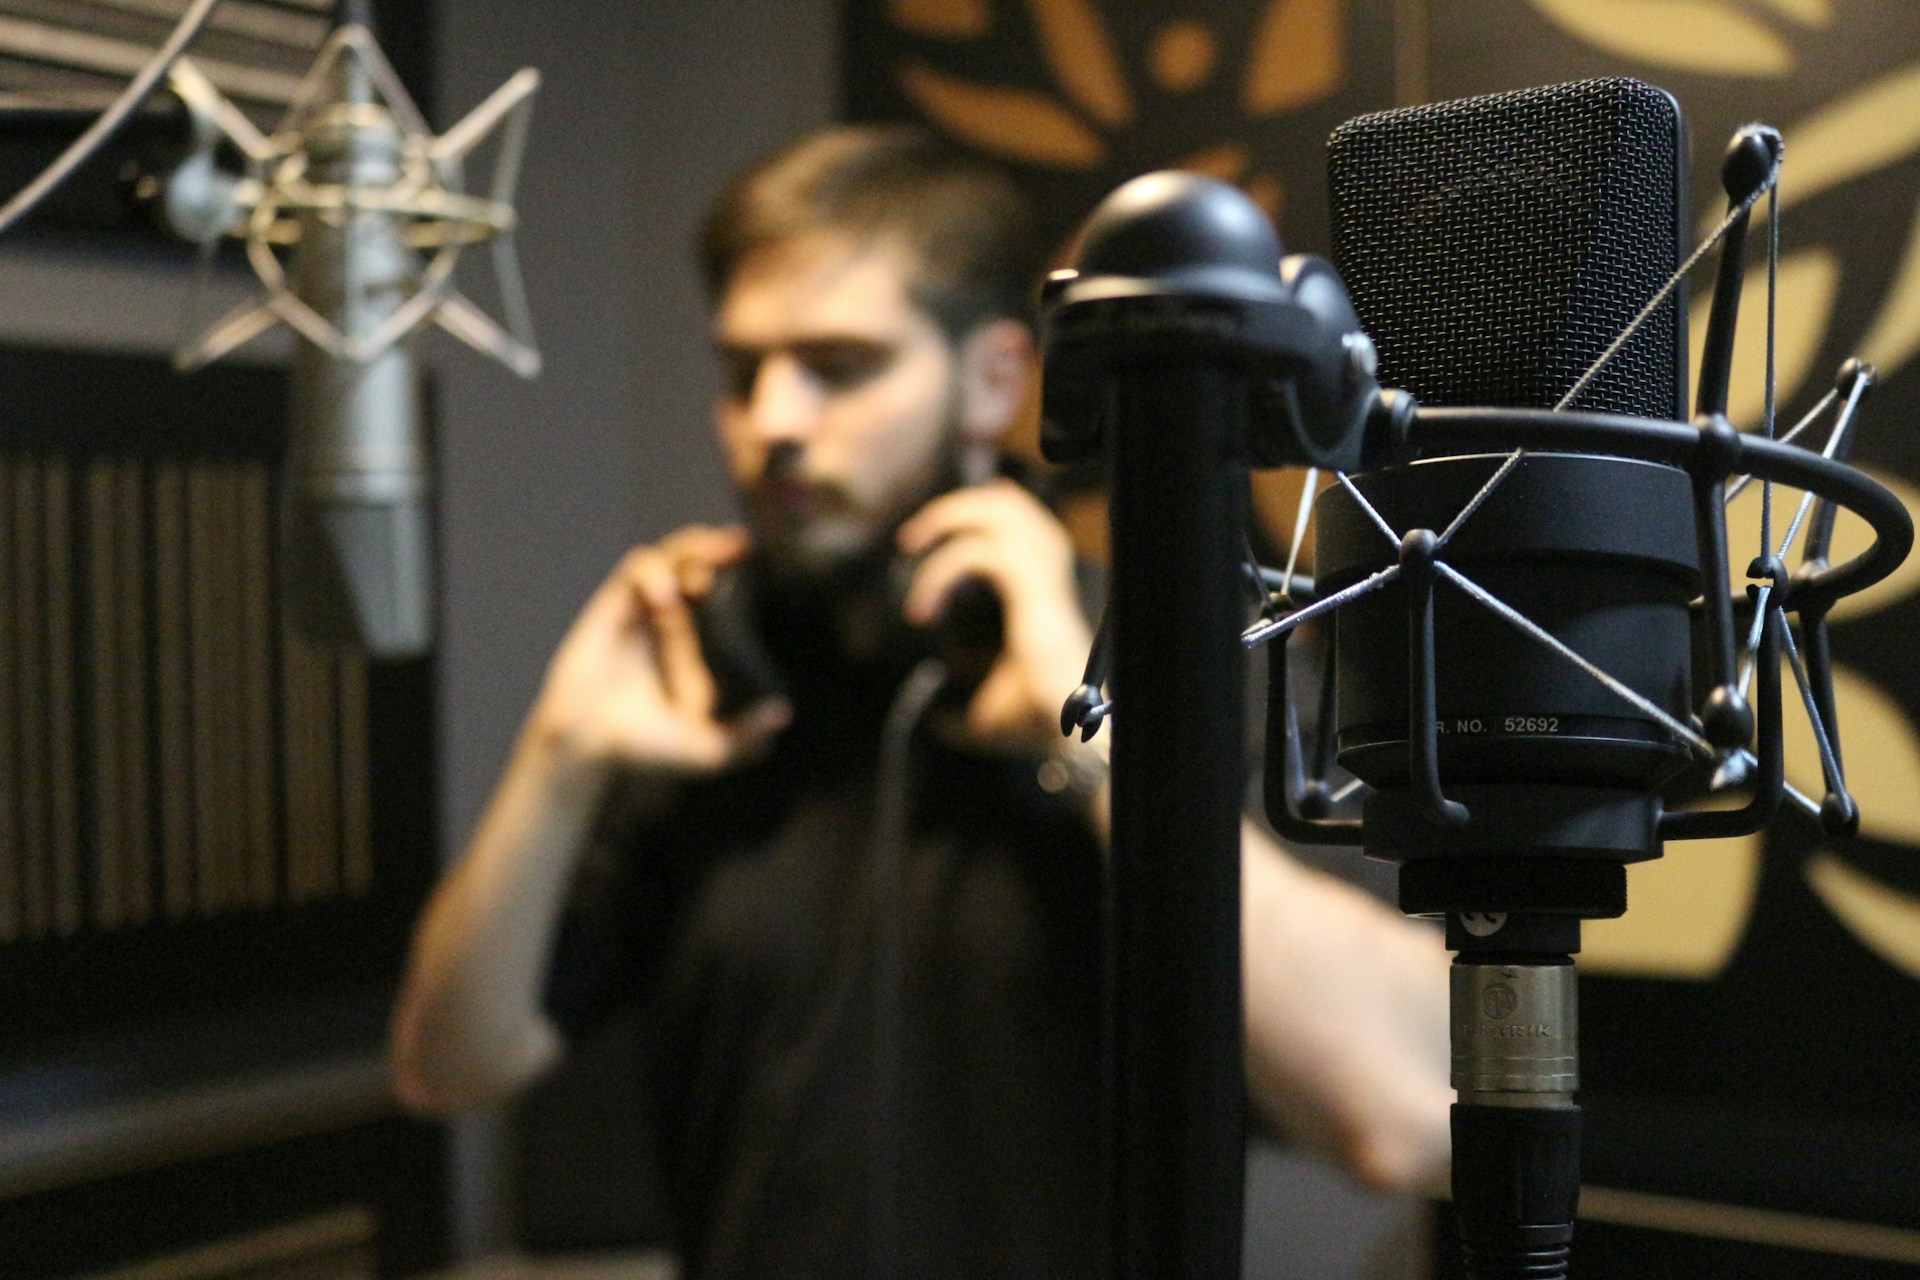
Cameras and Audio Gear
You don’t need the latest gear to create high-quality content. Start with what you have and upgrade over time:
- Cameras: Smartphones with good cameras can produce excellent results for beginners. Pair them with a tripod and lighting for a professional look.
- Microphones: Budget-friendly microphones like the FIFINE USB Microphone or the Rode VideoMicro can significantly enhance your audio quality.
- Tripods: Invest in a stable but affordable tripod, such as those from Amazon Basics, to keep your shots steady.
Budget-Friendly Editing Tools
Your home studio isn’t complete without the right software for editing. Free or low-cost tools can deliver professional results:
- Video Editing: DaVinci Resolve offers powerful features for free, while Adobe Premiere Elements is a more affordable alternative to Premiere Pro.
- Audio Editing: Audacity is a free and versatile tool for audio recording and editing.
- Photo Editing: Use free software like GIMP or affordable options like Affinity Photo for editing images.
Organization and Cable Management
A clutter-free studio improves productivity and reduces stress. Keep things organized with these tips:
- Cable Ties: Use inexpensive Velcro cable ties to manage cords and prevent tangling.
- Storage Solutions: Repurpose bookshelves, bins, or even cardboard boxes to store equipment.
- Labeling: Label cables and equipment to save time during setup and teardown.
Bonus Tips for Saving Money
- Shop Secondhand: Look for used equipment on platforms like eBay, Facebook Marketplace, or local classified ads.
- DIY Where Possible: Build your own sound panels, lighting rigs, or even desks with materials from home improvement stores.
- Buy Multipurpose Gear: Opt for equipment that serves multiple purposes, such as a ring light with a phone holder or a tripod with adjustable height.
- Wait for Sales: Keep an eye out for discounts during Black Friday, Prime Day, or other sales events.
Conclusion
Building a professional home studio on a shoestring budget is entirely possible with some creativity and strategic planning. By focusing on essentials, repurposing items, and shopping smart, you can create a space that meets your needs without draining your wallet. Whether you’re a seasoned creator or just starting out, your studio is a reflection of your passion—proof that high-quality content doesn’t require a high price tag.