Lighting setup is one of the most crucial aspects of content creation, often making the difference between an amateur-looking video and a professional-grade production. Whether you’re filming vlogs, product videos, live streams, or cinematic shots, understanding how to shape and control light can elevate your content.
Lighting for Vlogs
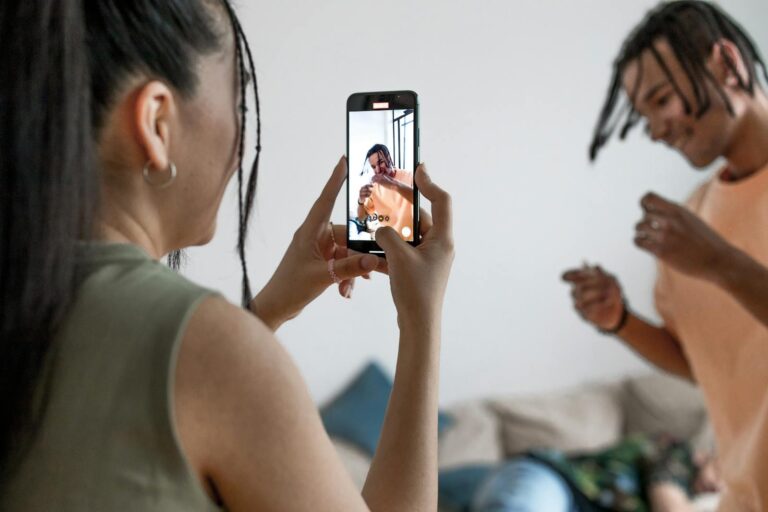
For vlog-style content, the goal is to achieve a natural, flattering look without overcomplicating the setup. Soft, even lighting works best since vlogs are typically conversational and personal.
A great approach is to use natural light whenever possible. Position yourself near a window with indirect sunlight, ensuring the light is diffused and not harsh. If natural light isn’t an option, a simple ring light or softbox placed in front of you at a slight angle will create an appealing glow without harsh shadows.
For mobile vloggers or those frequently changing locations, portable LED lights such as the Aputure MC or Lume Cube Panel provide flexible lighting solutions.
These compact lights allow you to control brightness and color temperature, ensuring consistent lighting even in unpredictable environments.
Lighting for Product Videos
Product videos demand a more controlled lighting setup to highlight details, textures, and features. A three-point lighting system is ideal, consisting of a key light, fill light, and backlight.
The key light, positioned at a 45-degree angle from the product, serves as the primary source of illumination. A softbox or LED panel with a diffuser ensures that the light is even and doesn’t create harsh reflections.
A fill light, placed on the opposite side, helps reduce shadows and balance the overall exposure. This should be softer than the key light to maintain depth while keeping the product well-lit.
A backlight, also known as a rim light, separates the product from the background, creating a professional look. This light is usually positioned behind or slightly to the side of the product, adding dimension and making it pop on screen.
For reflective objects, using a polarizing filter and adjusting light angles can minimize glare and unwanted reflections. Additionally, bounce cards or reflectors can be used to fill in shadows without adding additional light sources.
Lighting for Live Streaming
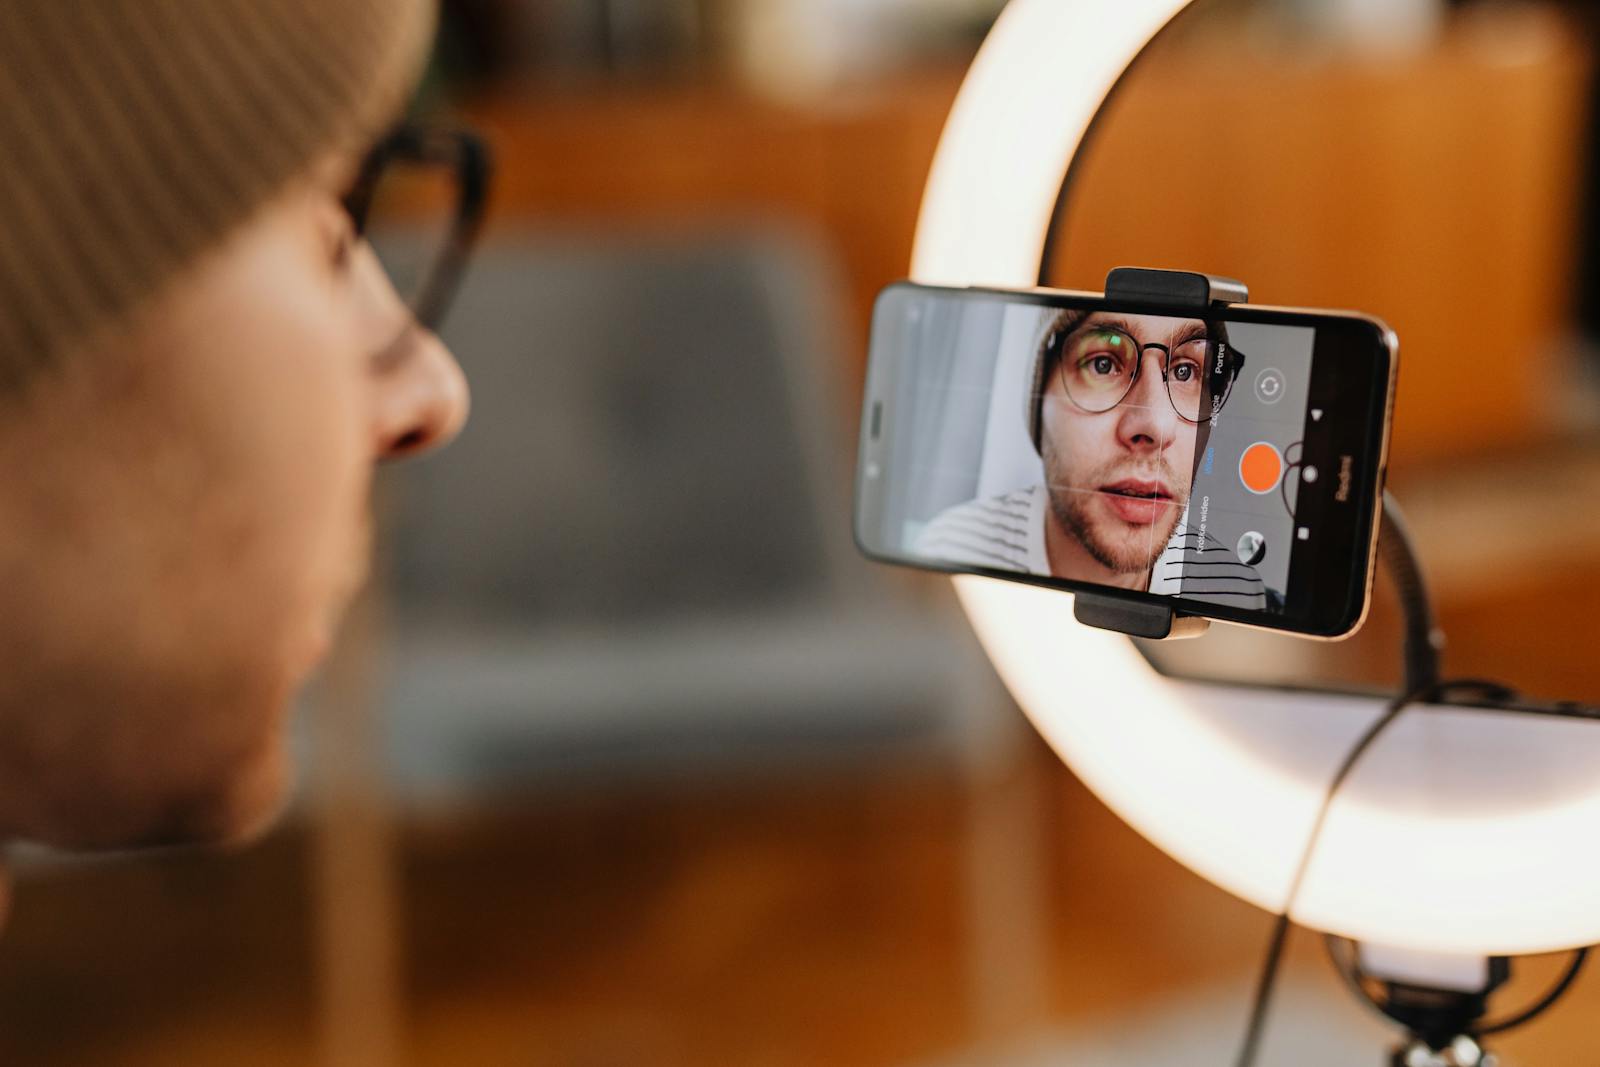
Live streaming requires a setup that is both flattering and functional. Since viewers will be watching for an extended period, it’s essential to use lighting that is comfortable on the eyes while maintaining a polished appearance.
A soft key light positioned slightly off-center provides a natural look. This can be achieved with a large softbox, an LED panel with a diffuser, or a well-placed ring light. Avoid placing the key light too close to your face, as it may cause overexposure or unflattering shadows.
Adding a fill light on the opposite side helps soften shadows and creates a balanced look, while a subtle backlight enhances separation from the background, adding depth to the scene.
If your streaming background includes RGB lighting or accent lights, ensure they complement the main lighting setup rather than overpowering it. Soft background lighting can add atmosphere and make the stream visually engaging without distracting from the subject.
Lighting for Cinematic Shots
Cinematic lighting is all about creating depth, emotion, and drama. Unlike traditional video lighting, which prioritizes even exposure, cinematic lighting often embraces contrast and shadows to enhance storytelling.
A key light with a modifier, such as a softbox or barn doors, helps shape the light and create a more controlled, moody effect. This light is often placed at a 45-degree angle or even more dramatically to one side, creating a sense of depth.
A practical light, such as a lamp in the background, can add warmth and realism to the scene. These lights often serve both aesthetic and functional purposes, making the shot feel immersive.
For added dimension, a backlight or rim light can help separate the subject from the background. Using colored gels on lights can enhance the atmosphere, creating different moods that support the narrative.
The key to cinematic lighting is intentionality—experiment with different placements, intensities, and color temperatures to achieve the look that best suits your scene.
Final Thoughts
Lighting is an art that, when mastered, can significantly enhance your content quality. Whether you’re shooting a podcast, an intricate product showcase, a professional live stream, or a cinematic masterpiece, understanding how to manipulate light gives you creative control over your visuals.
Investing in proper lighting equipment and experimenting with different setups will not only make your content more visually appealing but also set you apart as a creator who values quality and storytelling. With the right lighting, even the simplest content can have a powerful impact.